
Early access · Release date: May 20, 2026
UpdatedDeep Rock Galactic Rogue Core Progression Guide: Unlocks
Deep Rock Galactic Rogue Core progression guide: unlock Clearance, build Enhancements, earn Merits, and use Update 3 systems to strengthen each new run.
Jump to

How to Make Lasting Progress in Rogue Core
A stronger run starts before you leave the Ramrod. This Deep Rock Galactic Rogue Core progression guide walks you through the permanent unlocks that make future dives more flexible and rewarding. Prioritize Intel tasks, claim Operations Command rewards, equip your Enhancements, and work toward Gatekeeper victories.
Rogue Core separates your temporary mission build from the progression you keep between missions. Weapons and random upgrades belong to the current run; Clearance, unlocked Enhancements, and class progression give you something to build on afterward.
| System | How you progress | What it provides |
|---|---|---|
| Intel Clearance | Complete Intel tasks and claim their rewards | Access to more mission content and security features |
| Operations Command | Complete directives and class-specific Deployments | Merits for progression purchases |
| Enhancements | Unlock nodes with Chips earned through Reclaimer Points | Bonuses you equip through your loadout |
| Enhancement slots | Spend Merits | Up to eight slots per Reclaimer |
| Ascension | Reach a Reclaimer’s level cap and pay Merits | Continued class progression while retaining unlocks |
| Trophy Wall | Defeat Gatekeepers and advance its tracked goals | Armor paintjobs and permanent stat boosts |
Build a repeatable loop: choose a mission that advances your objectives, collect useful upgrades underground, then visit the progression terminals before launching again. Failed runs still award progression, so check your rewards even after a wipe.
Official page: Deep Rock Galactic Rogue Core (store.steampowered.com)
Unlock Clearance and Reach New Depths
Intel Clearance controls access to additional parts of the mission map and security systems. Open the Mission Terminal before choosing a facility and read your current Intel tasks.
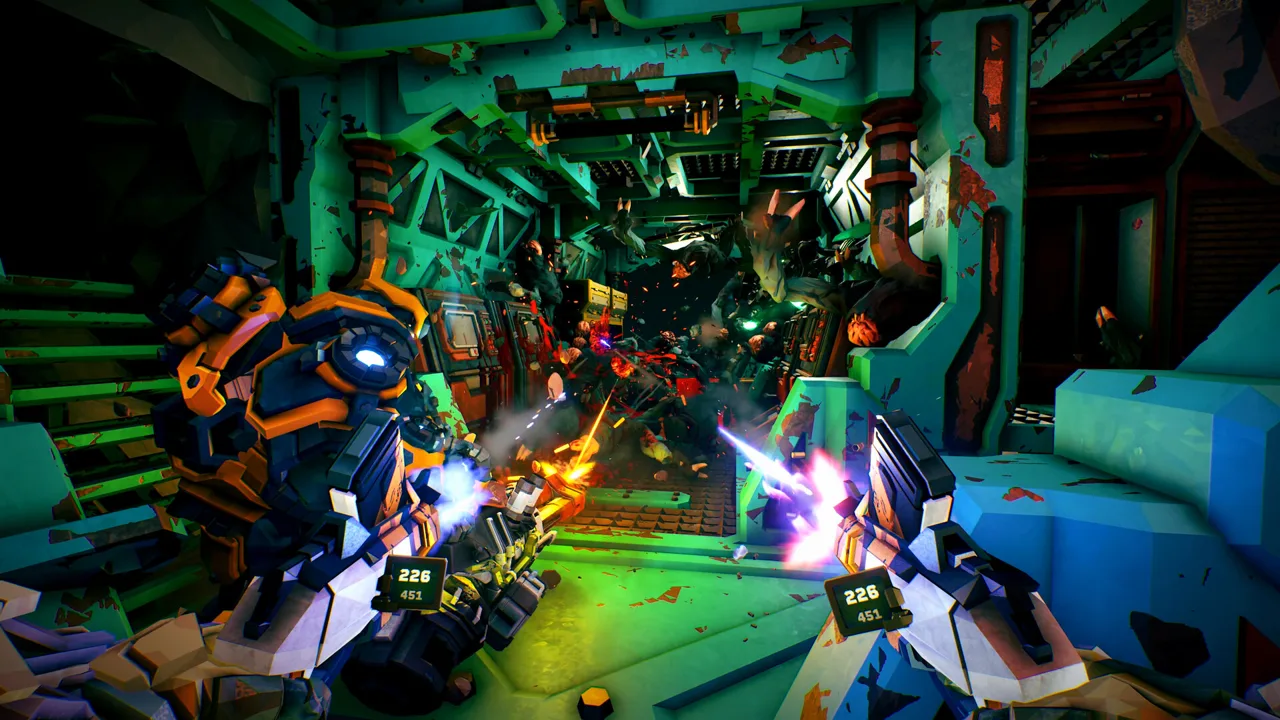 Image: Steam / Ghost Ship Games
Objectives include activities such as recovering security cameras, interacting with terminals, completing points of interest, and reclaiming facilities. Target the tasks currently displayed instead of repeating a mission that no longer advances them.
- Read your active Intel objectives. Identify which activities you need during the next dive.
- Choose a suitable facility. Check its biome, Gatekeeper, length, and complexity.
- Collect objective items along your route. Look above you for security cameras, including those attached to elevated structures.
- Claim completed Intel rewards between missions. Check whether the next Clearance unlock is available before launching again.
Update 3 rebuilt the Clearance progression line, changing its levels, objectives, rewards, and requirements. Returning characters were migrated automatically, which can leave their displayed Clearance a level or two away from its previous value.
Alpha Clearance Is Already Granted
New Reclaimers automatically receive Alpha Clearance. You can open the Grenade Locker and activate Expenite Events during your starting missions.
Later security unlocks still matter. For example, locked rooms added in Update 3 require a Delta Security Override.
Depth Unlocks Content
Since Update 2, Depth governs content progression, while Threat Level controls the base combat difficulty. Update 3 opened Depth 4 and introduced the Balgorath Gatekeeper.
You can join another player’s mission at a Depth you have not unlocked. Hosting a mission there still requires your own unlock, so keep advancing Intel Clearance even when you play with friends who are farther ahead.
Earn Merits and Equip Your Enhancements
Operations Command, or OpsCom, is a regular stop after a run. Its directives track broad activities, while Deployments provide class-specific objectives.
 Image: Steam / Ghost Ship Games
Claim completed rewards before heading back underground. Since Update 3, Deployments become available when you meet their rank requirement; you no longer spend Merits to unlock them.
Keep the Progression Resources Straight
These resources serve different purposes:
- Reclaimer Points feed the Chip progression used to unlock Enhancements.
- Chips purchase nodes in the Enhancement tree.
- Merits pay for progression purchases such as Enhancement slots and Ascension.
- Scrip is spent on the cosmetic sheet, which now also contains Merit-granting nodes.
- Expenite powers upgrades during the current mission.
At the Enhancement tree, unlock nodes and advance through its four tiers. Higher tiers offer stronger versions of the bonuses available earlier.
Then visit the Loadout Terminal. Unlocking an Enhancement and equipping it are separate steps, and each Reclaimer can eventually use eight Enhancement slots.
Match Bonuses to the Problem Ending Your Runs
Choose bonuses that support the weapons and abilities you actually use. If you repeatedly run dry before the boss, consider ammunition support. If chip damage keeps forcing revives, look at defensive options.
Update 3 strengthened several Enhancements, including:
- Extra Padding: 15% / 20% / 30% / 50% across Tiers 1–4.
- Breathing Room: 18 / 24 / 32 / 45 across Tiers 1–4.
- Bullseye: 5% / 8% / 10% / 12% across Tiers 1–4.
Revisit saved loadouts after unlocking more slots or a higher tier. An unlocked bonus only helps the loadout where you equip it.
Develop Your Reclaimers and Bio-Booster Decks
Rogue Core has five Reclaimers: Guardian, Falconer, Retcon, Spotter, and Slicer. Their abilities shape how you handle fights, recover from mistakes, and support teammates.
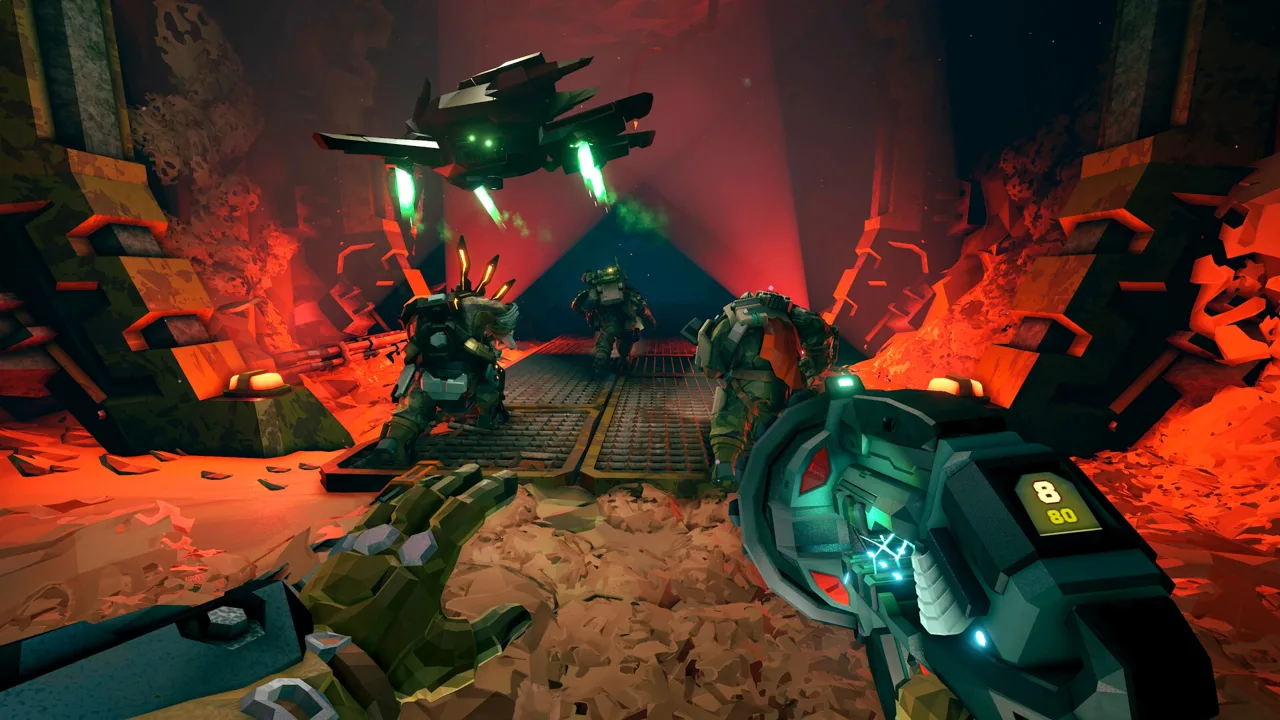 Image: Steam / Ghost Ship Games
- Guardian provides crowd control and armor restoration. Use the repulsion ability to create space during revives or objective defense.
- Falconer attacks with a Shock Drone and can revive teammates remotely. Build around drone effects or electric damage when your choices support them.
- Retcon uses Rewind Time to return to a saved position and restore the health, armor, and ammunition recorded there. Activate it before committing to a dangerous exchange.
- Spotter weakens targets for critical hits, detects enemies, and supplies ammunition. Coordinate marked targets with your squad.
- Slicer combines an armor-cutting melee attack with mobility and a frontal shield. Plan an exit before closing on a dangerous group.
Try the different kits, then spend enough time with a favorite to learn its abilities and develop its progression.
Plan Around Your Bio-Booster Decks
Each class has two class decks that influence its Bio-Booster choices. Review them in the Loadout Terminal before a mission.
For Falconer, those paths include drone-focused improvements and electric damage combinations. Choose Enhancements that support your intended direction, then adapt when the mission offers a useful weapon or upgrade.
Once you Ascend two Reclaimers, you can mix and match decks. Update 3 also added Prowess, a classless deck available when deck swapping unlocks. Its effects center on switching between your pickaxe, weapon, and grenades.
Ascension becomes available at a Reclaimer’s level cap. Paying Merits resets that character to level 1 while retaining unlocked progression.
Turn Expenite Into a Stronger Mission Build
Your permanent loadout supports the opening minutes, but Expenite upgrades, Workbenches, Bio-Boosters, and Artifacts shape the build that reaches the boss.
Since Update 3, enemies drop Expenite as a standard mechanic. Mine accessible veins and collect combat drops as you advance. The Expenite Harvest Alteration changes that balance: its quarry walls contain abundant Expenite, but enemies do not drop it.
Deposit Expenite into the R.E.P.D. to fill the upgrade meter. Once an upgrade is ready, activate the process from the drone. The squad no longer needs to gather around it.
Chosen upgrades are replaced with new options, giving everyone the same number of choices. Pick effects that work with your current build rather than choosing by rarity alone.
Open Workbenches and Bio-Boosters
When you find a Workbench, interact with it to locate the nearby toolbox, then carry the box back to repair it. Workbench choices can improve a weapon, modify a class ability, or offer another weapon.
You get one choice at each Workbench. Compare the benefit of strengthening your current setup with the value of another gun.
Bio-Boosters require a hacking minigame and offer character-specific choices tied to your decks. Ping these stations for teammates and fit them into your route before starting the exit objective.
Use Flux Quartz to Repair Weak Picks
Update 3 introduced Flux Quartz and the Refractor Terminal. Collect the mineral from cave walls to reroll Expenite upgrades or Artifacts, or convert it into a small health boost.
The stage timer stays paused until the first Reclaimer leaves the elevator. Use that window to review your build and make rerolls together.
Prioritize replacing an effect your build cannot activate or benefit from. Leave the elevator once everyone has finished.
Set the Difficulty and Keep the Descent Moving
Rogue Core gives you separate controls for combat pressure, mission timing, and content access.
| Setting | What it changes | How to use it |
|---|---|---|
| Threat Level | Enemy numbers, swarm frequency, health, movement, aggression, and damage | Lower it when combat repeatedly overwhelms your squad |
| Assault Pace | The mission timer’s pace | Choose Cautious while learning routes and activities |
| Depth | Mission content and Gatekeeper progression | Advance it through Clearance unlocks |
Threat Levels 4 and 5 allow waves to stack. Avoid adding that pressure while you are still learning a new boss or struggling to complete facility objectives.
Take Useful Detours Before the Timer Becomes Critical
The threat meter eventually pushes a stage into Critical, bringing relentless enemy pressure and Reaperworms. Watch incoming waves before starting an optional event.
Take nearby Expenite, Workbenches, and Bio-Boosters, but keep locating the exit as you explore. Leave enough time to complete its objective.
Update 3 added alternatives to the familiar elevator defense:
- Defend the Drive Unit: protect it while the elevator arrives and repair it when damaged.
- Collect Gears: recover missing parts and reinstall them in the Drive Unit.
- Remove Growths: destroy the Blister Growths blocking the elevator, preparing for the enemies they provoke.
Use the Terrain Scanner when searching for dropped gears. Their markers were enlarged and recolored in the November 11 patch.
Judge Risk Vectors Against Your Current Weaknesses
Between stages, Risk Vectors trade additional danger for rewards. Their effects persist and accumulate through the mission.
Read the penalty before chasing the reward. Avoid adding enemy pressure that your current ammunition supply, crowd control, or defensive tools already struggle to handle.
Use Priority Targets and the Trophy Wall
The mission map always offers a Priority Target, selected by OMEGA using your collected Intel. Completing that mission grants a +10% Reclaimer Points bonus, and the server browser marks matching lobbies.
Choose it when the facility also suits your active objectives and preferred difficulty. Compare that bonus with the value of completing an Intel task that opens more content.
Gatekeeper victories also advance the Trophy Wall. Open it from the Mission Terminal using the button beneath the globe hologram to view its goals and rewards.
Useful progression changes include:
- Update 3: the Trophy Wall added armor paintjobs and permanent stat boosts.
- November 11 patch: the Trophy Wall armor bonus increased to +6.
- November 11 patch: Guardian’s Armor Beacon now restores armor up to 100%.
Depth 4 ends with Balgorath, whose patterned projectiles also block your shots. Keep moving, manage your distance, and fire through openings instead of spending ammunition into the projectile screen.
Rift-enhanced facilities introduce an additional Gatekeeper challenge through a Risk Vector-style vote. Learn the regular encounter before adding another modifier to it.
Manage Cosmetics, Solo Saves, and Interrupted Runs
Update 3 reworked the cosmetic sheet into individual reward nodes and made most cosmetics unlock across all classes. Previously spent Scrip was refunded up to the new sheet’s maximum.
Reopen the sheet if you are returning after a break. Pick your preferred cosmetics again and inspect the Merit-granting nodes alongside them.
Pause a Solo Run Between Stages
The November 11 patch added Save & Quit for solo missions. You can save after a stage, leave the game, and continue later through Resume Mission.
The resume screen also offers Claim And Abort if you want to end that run and collect its earned rewards.
Recover After Losing the Host
Host loss no longer automatically ends a co-op mission. The remaining team can regroup under a new host and restart the stage. If the interruption happens on the first stage, the team returns to the Ramrod with the mission still selected.
When regrouping is unavailable, you can continue solo or claim the rewards already earned and end the run. Check those recovery options before abandoning a mission with a build you want to finish.
Continue with
 Deep Rock Galactic Rogue Core Ascension: Unlock GuideDeep Rock Galactic Rogue Core ascension unlocks Gauntlet access, deck swapping, and pickaxe heads. Learn how to ascend and plan your next class milestone.
More in Progression
Deep Rock Galactic Rogue Core Best Enhancements Guide
Deep Rock Galactic Rogue Core best enhancements for ammo, crits, and survival. Plan your early unlocks and compare the buffs that matter after Update 3.
Deep Rock Galactic Rogue Core Meta Progression Guide
Deep Rock Galactic Rogue Core meta progression explained: unlock enhancements, raise Intel Clearance, swap decks, and earn permanent rewards between runs.
Continue exploring

Join the community
Official channels for news, updates and player help: