
Early access · Release date: May 20, 2026
UpdatedDeep Rock Galactic Rogue Core Weapons: Arsenal Guide
Explore Deep Rock Galactic Rogue Core weapons, from explosive pistols to the Ventura Model 57, with upgrade tips and key changes from Updates 2 and 3.
Jump to
Which Weapons Should You Pick?
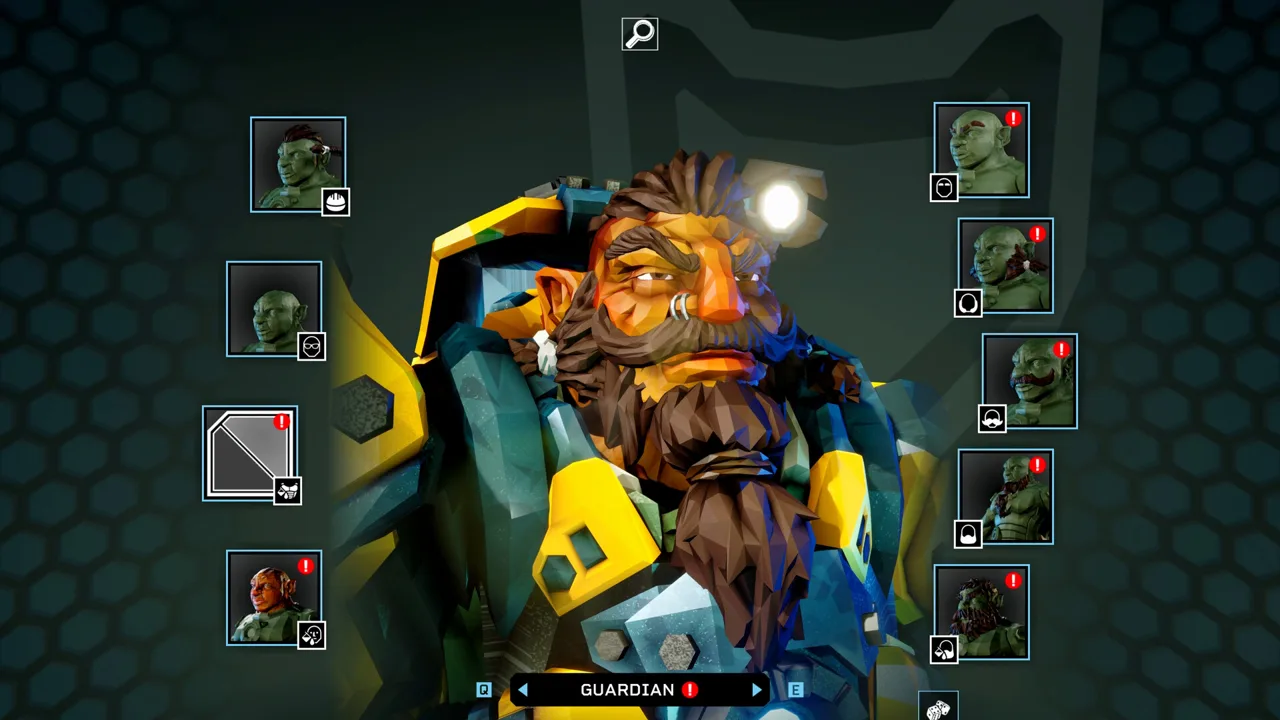
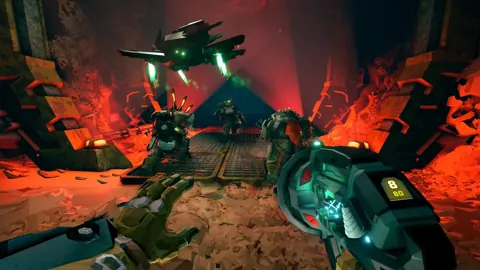
Deep Rock Galactic Rogue Core weapons determine how you handle everything from a packed elevator defense to a distant weak point. Prioritize the Deepcore GK2, Devastator Blaster Pistol, or Warthog for straightforward firepower, then invest in upgrades that address their limitations. Keep Update 3’s weapon changes in mind, especially when building around electricity, explosions, or charged shots.
Rogue Core starts each mission with basic equipment and lets you collect randomized gear and upgrades during the run. Choose weapons for what they can do immediately, then consider how their workbench upgrades fit your class and existing effects.
These weapons offer several distinct ways to build reliable damage:
| Weapon | Strengths | Upgrade priorities |
|---|---|---|
| Deepcore GK2 | Fast firing, solid damage, and quick reloads | Increase magazine size to extend firing between reloads |
| Devastator Blaster Pistol | Automatic explosive shots damage groups and large targets | Improve available ammo capacity; control bursts to conserve ammunition |
| “Warthog” Auto 210 | Strong close-range damage with fast firing and quick reloads | Add damage or magazine capacity |
| “Hammercaster” 58MM | Slug-firing shotgun with range and heavy weak-point damage | Expand its small magazine |
| Bolt-Tec “Decker” SMG | High fire rate and accuracy, with substantial upgrade potential | Prioritize magazine upgrades, including double magazine when offered |
| “Lead Storm” Powered Minigun | Large ammunition supply and accuracy that improves during sustained fire | Add damage, spread reduction, or elemental damage |
The Devastator’s explosive rounds make it forgiving against clusters, but its automatic fire can empty your reserves quickly. Fire controlled bursts rather than holding the trigger through every encounter.
Do not chase the Devastator’s old double-magazine attribute: Update 2 removed it. That change is specific to the Devastator; it does not invalidate magazine upgrades on other weapons.
The Hammercaster fills a different role from the Warthog. Use its reach to hit weak points without committing to point-blank shotgun combat. Its Burst Fire upgrade was also removed in Update 2.
Official page: Deep Rock Galactic Rogue Core (store.steampowered.com)
New Weapons: Ventura Model 57 and LOK-1 Smart Rifle
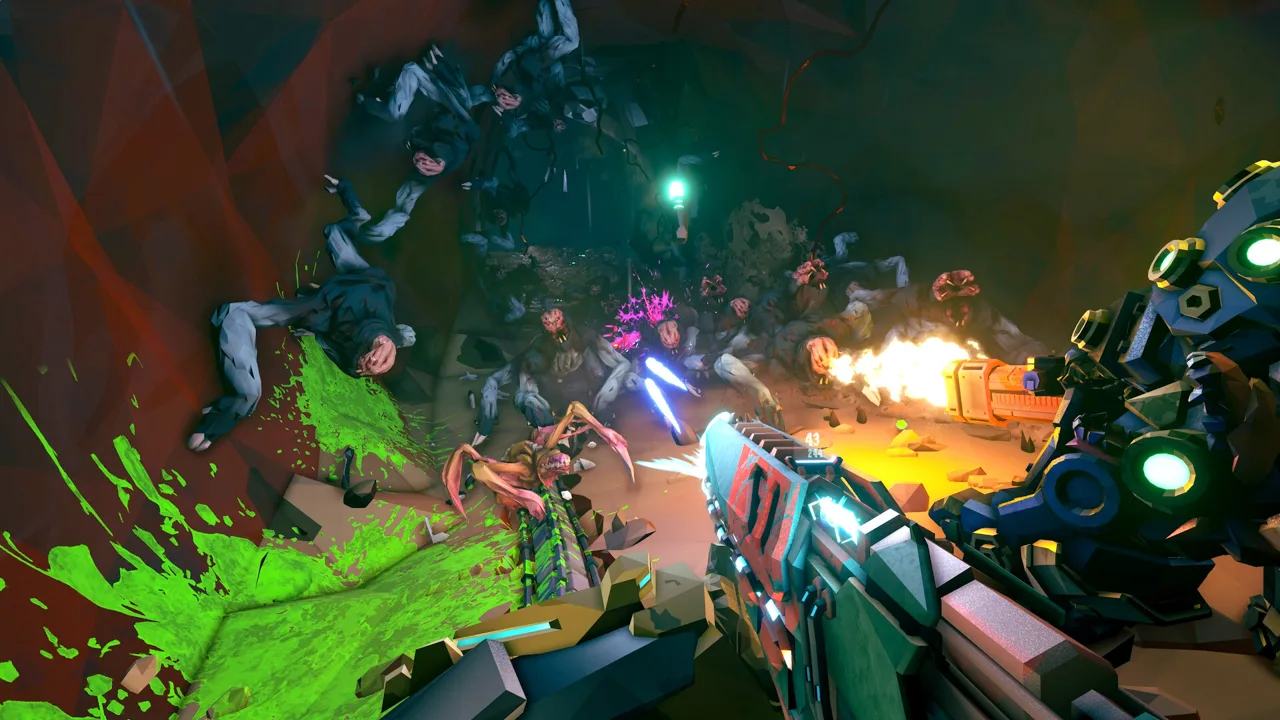 Image: Steam / Ghost Ship Games
Ventura Model 57
Update 3 adds the Ventura Model 57, a 12-gauge pump-action shotgun with heavy stopping power, a tight spread, and a tubular magazine.
Its spread supports both close- and medium-range shooting. That gives it more reach than a shotgun built around a very wide pellet pattern, while its slower reload demands more attention between fights.
The important feature for builds is its ability to top up the magazine at any time. Reload-focused upgrades can interact with that frequent reloading.
- Top off the tube during breaks in combat.
- Use its medium-range reach before enemies force you into melee.
- Consider reload-focused upgrades when building around its loading cycle.
Do not assume every shotgun serves the same purpose. The Warthog emphasizes firing pace and quick reloads; the Ventura offers pump-action impact and flexible magazine topping.
LOK-1 Smart Rifle
The LOK-1 Smart Rifle joined the standard weapon pool in Update 2, bringing its automatic target-locking firing mechanism into Rogue Core.
Update 3 adjusted it to match the fully upgraded LOK-1 in Deep Rock Galactic. Its range and targeting-area attributes were also combined into Macro-Lens.
Look for Macro-Lens when evaluating targeting-related upgrades. Familiarity with the original game helps, but Rogue Core’s randomized upgrades still shape the weapon you carry through a particular run.
Charged Shots and Electric Weapon Builds
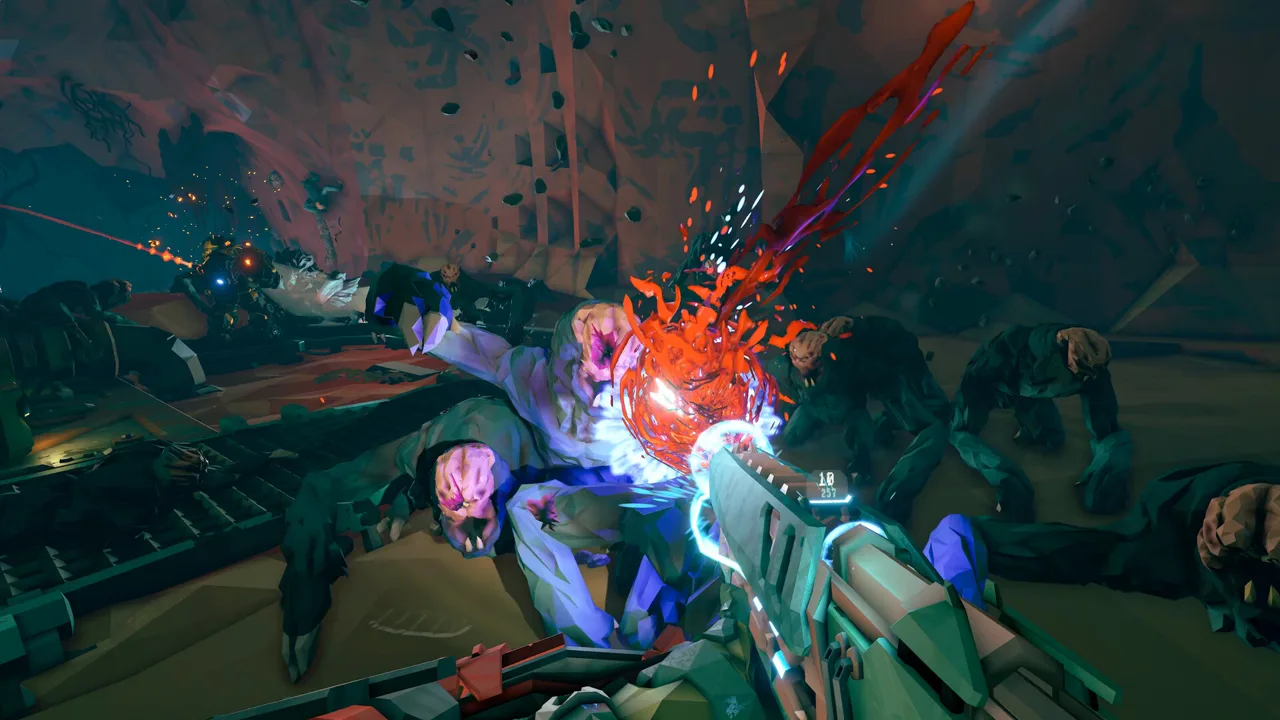 Image: Steam / Ghost Ship Games
MM4 Charge Blaster
The MM4 Charge Blaster, also called the MM-4 Charger, trades firing speed for powerful charged projectiles. Charging increases damage, making it useful against elites and other durable targets.
Its projectiles have travel time. Lead moving enemies rather than aiming as though the shot lands instantly.
Charge management also affects ammunition use. Fully charged attacks consume more ammunition, so reserve them for targets that justify the expense. Keep a faster weapon available for small enemies that would otherwise interrupt your charging rhythm.
Reloading Trick no longer applies to charged weapons such as the MM4 Charge Blaster after Update 3. Build around its charged damage and ammunition needs instead of that old interaction.
Shock Blaster
The Shock Blaster sends electricity between nearby enemies, giving it a natural role against groups. Its charge indicator helps you judge when a shot is ready to deliver full damage.
Aim into clustered bodies and allow the shot to charge rather than repeatedly firing the moment the weapon becomes available. Ricochet can add further crowd coverage when that upgrade appears.
Update 3 also lets the Shock Blaster damage armor. That matters when a wave includes armored targets rather than only exposed enemies.
“Stubby” Voltaic SMG
Update 3 substantially increased the Stubby’s electric buildup, magazine size, and total ammunition. Its earlier reputation for weak output and restrictive ammunition predates those improvements.
Use it to establish electric effects when your build rewards electrified enemies. Evaluate the weapon alongside your electric upgrades instead of judging it solely by direct bullet damage.
BRT7 Burst Fire Gun
The BRT7’s burst fire works particularly well with elemental upgrades because it can apply those effects quickly. Its baseline damage is less compelling.
Pick it when it already carries an elemental upgrade, or when you intend to pursue one at a workbench. Without that interaction, prioritize a weapon that better handles immediate combat pressure.
Other Weapons and Their Tradeoffs
Several returning guns and Rogue Core additions fill narrower roles. Their limitations matter when deciding whether to replace something already working.
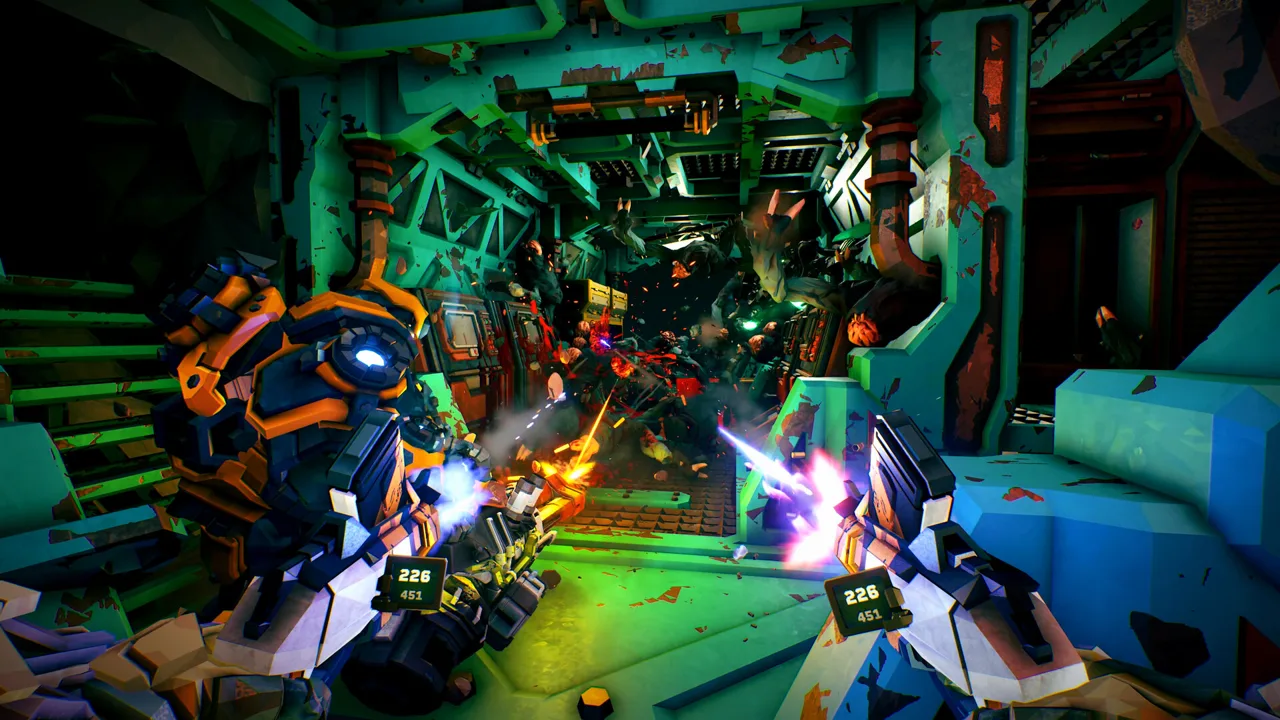 Image: Steam / Ghost Ship Games
| Weapon | Distinctive behavior | Limitation to account for |
|---|---|---|
| Bulldog Heavy Revolver | Heavy damage per shot | Its four-round magazine creates frequent reloads |
| Drak-25 Plasma Rifle | Rapid fire without conventional reloads | Overheating interrupts firing |
| Bolt-Tec “Silverback” HAR-50 | High rifle damage | Heavy recoil makes sustained accuracy harder |
| Lark Series-10 | Balanced damage, firing speed, and magazine capacity | Offers fewer specialized strengths |
| Jury-Rigged Boomstick | Fires eight pellets with a wide spread | Holds only two shells and favors close range |
| Zhukov NUK17 | Extremely fast-firing dual SMGs | Low damage per bullet favors close-range use |
| “Beltstrom” CMP-60 | Lethal at very short range | Severe damage falloff limits ranged combat |
| M1000 Classic | Strong weak-point potential | Movement spread makes mobile shooting difficult |
| “Thunderhead” Heavy Autocannon | Kinetic and explosive damage, with firing speed increasing during sustained fire | Needs damage investment to improve its output |
| “Hurricane” Guided Rocket System | Rockets follow your cursor and can be redirected | Dodging and changing aim can pull rockets away from a target |
| Breach Cutter | Cuts through groups of enemies | A restrictive ammunition supply limits sustained use |
| P-96 Mag Blaster | Projectile-based assault rifle | Accuracy and projectile travel complicate distant shots |
| Cadna Field Projector | Projects damaging fields that block enemy projectiles | Low direct damage makes it a defensive tradeoff |
| Deepcore 40mm PGL | Grenade-launcher attacks | Its baseline damage can struggle to justify the firing cycle |
For the Silverback, take recoil reduction when offered if keeping shots on target is your main problem. More damage helps only when the rounds connect.
For the Drak-25, manage firing before it overheats. Its homing-projectile upgrade offers a different way to improve hit consistency.
For the M1000, consider the Bastion Artifact when committing to stationary shooting. Bastion rewards standing still with increased durability and damage, matching the rifle’s movement-related limitation.
For the Hurricane, track rockets through their flight instead of immediately swinging your aim elsewhere. Its guidance lets you redirect shots, but that same control demands attention while evading attacks.
The Cadna Field Projector deserves separate consideration from a conventional damage weapon. Guardian can make use of its defensive role, but projectile blocking comes with a substantial damage sacrifice. Update 2 fixed cases where enemy projectiles passed through CADNA.
Avoid planning around removed upgrades: Update 2 removed the Hurricane’s Salvo Module and temporarily removed the Breach Cutter’s Return to Sender.
Upgrade Synergies That Change Weapon Choices
Elemental effects can give a weapon a purpose beyond its direct damage. A rapid-firing elemental applicator and a heavy single-shot weapon solve different problems, even when both contribute to the same build.
Several update changes are especially useful when choosing upgrades:
- Grid-Shock: Damaging electrified targets spreads +50% as electric damage to enemies connected through electrical arcs.
- Spark-Booster: Electrocution of enemies in medium range grants 45% movement speed for +3 seconds.
- Icy Shrapnel: Hitting frozen targets launches ice fractures in the opposite direction, dealing +25% Ice damage in a Short Range cone.
- Corrosion: Since Update 3, Corrosion grants armor penetration against the affected enemy, increasing with each stack.
- Brittle: Update 3 increased its value from 50% to 75%.
Pair electric application with Grid-Shock when you want damage to spread through connected enemies. Take advantage of Spark-Booster’s movement window to reposition after triggering electrocution.
Hitting frozen targets with Icy Shrapnel sends fractures in the opposite direction of the hit. Corrosion offers another answer to armor, with additional stacks increasing penetration.
Explosion builds also changed in Update 3. Embedded Detonators now produce an actual explosion that interacts with explosion upgrades. Several co-op problems were fixed as well, including explosive weapons failing to damage armor plates for clients and explosion-triggered upgrades failing for non-host players.
Use Flux Quartz to Reroll Upgrades
The Refractor Terminal becomes available in the elevator starting on the second level. Collect Flux Quartz from cave walls to reroll Expenite upgrades and Artifacts, or convert it into a small health boost.
Use rerolls to replace upgrades that do not support your weapon or elemental interactions. Keep weapon workbench upgrades separate in your planning: the Refractor’s reroll system applies to Expenite upgrades and Artifacts.
The level timer stays paused until the first Reclaimer leaves the elevator. Finish your team’s rerolls before stepping out.
Match Your Weapon to Your Reclaimer and Encounter
Close-range weapons fit naturally with Slicer and Guardian, whose abilities support fighting near enemies. The Boomstick’s wide spread and two-shell magazine make that positioning especially important.
Spotter supports precision damage through target weakening and critical-hit interactions. Pair a charged damage weapon with a faster crowd-handling option so small enemies do not force you to spend every attack charging.
Retcon can return to a previous position while restoring health and ammunition. Use that recovery deliberately when spending ammunition aggressively; make the return part of the attack sequence.
Difficulty changes the pressure on these choices. Update 2 introduced five Threat Levels that affect enemy numbers, health, movement, aggression, and damage. Depth now controls content progression rather than difficulty.
On Threat Levels 4 and 5, waves can stack. Favor ammunition sustainability and manageable reload gaps when overlapping enemies threaten to overwhelm your position.
The Balgorath Gatekeeper adds another constraint: its patterned projectiles also block your shots. Reposition to create firing openings instead of emptying magazines into the incoming barrage. Keep moving between openings, then commit your charged shots or sustained fire when you have a clear line to the boss.
Continue with
 Deep Rock Galactic Rogue Core Combat Axe: Melee GuideDeep Rock Galactic Rogue Core combat axe guide covering Combat Pickaxes, Impact Axes, Slicer's blade, melee upgrades, and key fixes introduced in Update 3.
Continue exploring

Deep Rock Galactic Rogue Core Crossplay: Can You Play?
Deep Rock Galactic Rogue Core crossplay explained: explore Steam co-op, console availability, and the multiplayer updates that keep your squad together.
Deep Rock Galactic Rogue Core Player Count Explained
Deep Rock Galactic Rogue Core player count explained: learn the four-player co-op limit, solo options, lobby tools, and changes that help keep runs going.
Join the community
Official channels for news, updates and player help: