
Early access · Release date: May 20, 2026
UpdatedDeep Rock Galactic Rogue Core Best Enhancements Guide
Deep Rock Galactic Rogue Core best enhancements for ammo, crits, and survival. Plan your early unlocks and compare the buffs that matter after Update 3.
Jump to
Which Enhancements Should You Unlock First?
An empty gun can end a promising run faster than a weak damage roll. For Deep Rock Galactic Rogue Core best enhancements, prioritize Ammo Pouch and Resupplier when ammunition keeps running out, or Bullseye and Deadeye for a crit-focused build. Add healing and interaction support when surviving fights or recovering teammates becomes the bigger problem.
Enhancements are permanent progression upgrades unlocked through the skill tree between missions. They give your loadout a stronger starting point before random weapons, Expenite upgrades, and artifacts begin shaping the run.
Use these early upgrades to plan your unlock priorities:
| Enhancement | Effect |
|---|---|
| Ammo Pouch I | +8% maximum ammo |
| Ammo Pouch II | Twelve percent more maximum ammo |
| Resupplier I | +8% ammunition when resupplying after Update 3 |
| Bullseye I | +5% critical hit chance after Update 3 |
| Bullseye II | +8% critical hit chance after Update 3 |
| Deadeye I | +10% critical damage |
| Deadeye II | +15% critical damage |
| Battering Ram I | +25% armor damage |
Update 3 substantially improved Bullseye. Its four tiers now provide 5%, 8%, 10%, and 12% critical hit chance. Resupplier I also increased to 8%, making older recommendations built around its smaller bonus less useful.
Choose an unlock direction based on what is actually stopping your progress. Take ammunition upgrades when you reach objectives with empty reserves. Invest in crits when your weapons are staying supplied but enemies take too long to kill.
Official page: Deep Rock Galactic Rogue Core (store.steampowered.com)
Fix Ammo Shortages With Ammo Pouch and Resupplier
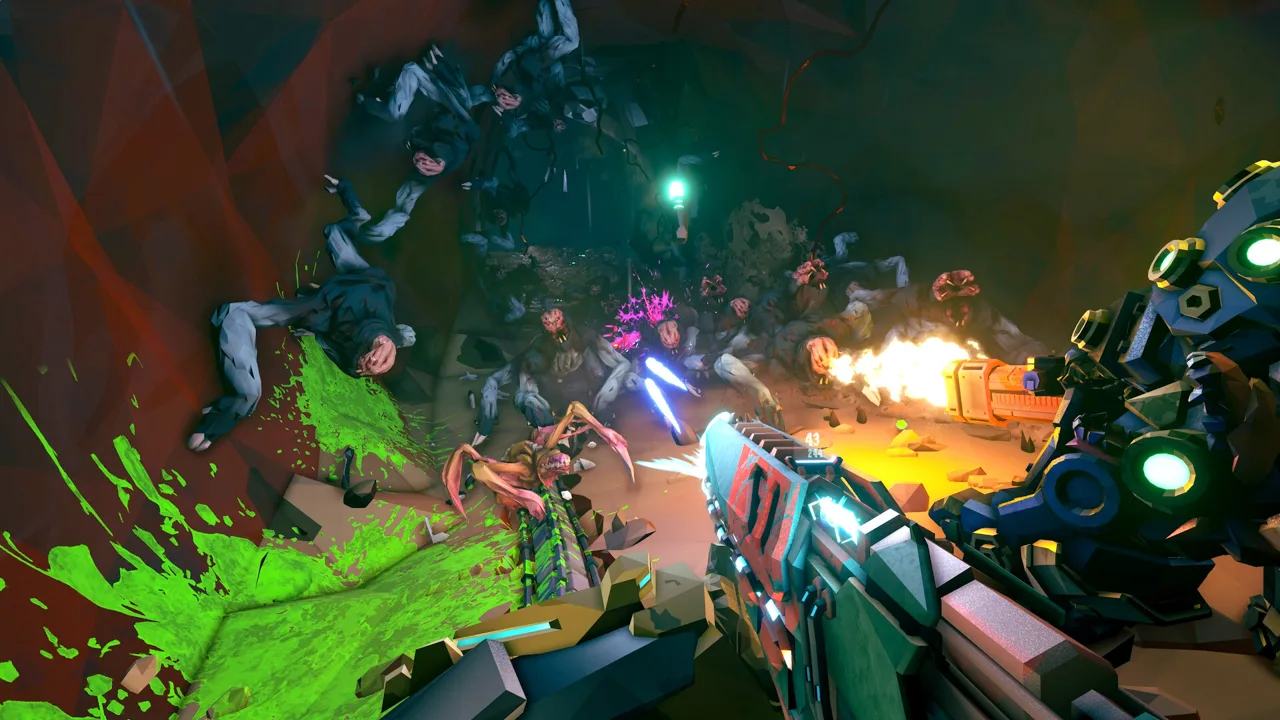 Image: Steam / Ghost Ship Games
Ammo Pouch increases your reserves; Resupplier improves what you receive when replenishing them. Equip them together when ammunition is the recurring weakness in your loadout.
Start with Ammo Pouch I, then work toward Ammo Pouch II if shortages continue. Different tiers can be equipped together, so unlocking the second tier does not make the first one irrelevant. Resupplier I and II can also be equipped together.
That flexibility matters when you want to commit several enhancement slots to ammunition. Keep those slots focused on ammo while shortages persist, then make room for damage or utility when your supply becomes comfortable.
Rogue Core now has more ammunition spawns in caves than it did at launch. Judge your needs during your current runs instead of automatically filling every available slot with ammo bonuses.
Make Each Resupply Count
Wait until both weapons are below half ammunition when you can safely do so. A standard resupply serving restores 50% ammo and 50% armor, so using one mainly to repair armor can waste much of its value.
In a four-player team, leave a serving for each teammate unless someone explicitly passes theirs up. Enhancement bonuses help stretch resources, but they do not replace sharing the pod.
Finish nearby workbenches, too. Their upgrades can add ammunition, increase damage, or introduce another damage type. Interact with an unfinished workbench to mark its toolbox, then retrieve it before moving on.
Build Critical Damage With Bullseye and Deadeye
 Image: Steam / Ghost Ship Games
Bullseye supplies critical hit chance, while Deadeye increases critical damage. Equip both when you want your permanent enhancements to support a crit build.
Deadeye I and Deadeye II together provide 25% additional critical damage. Stack them when you can also support critical hits through your other enhancement slots and upgrades found during the mission.
Bullseye is a stronger early investment after Update 3. Its first tier now gives 5% crit chance, while the second gives 8% rather than 3%.
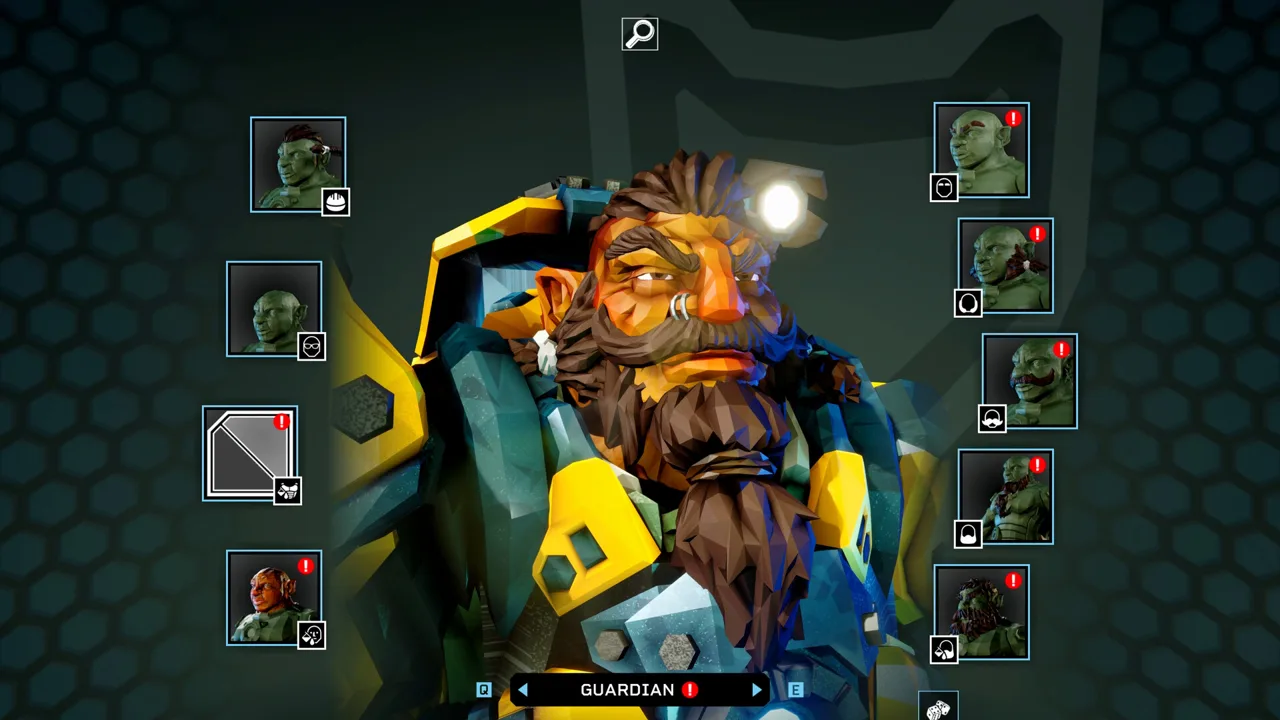
For Spotter, lean into critical hits and weak-point damage. The class highlights and weakens targets with darts, and its marksman role fits a loadout built around accurate shots.
Keep critical damage and weak-point damage distinct when choosing upgrades. Read the effect, then choose upgrades that support the way your weapon deals damage.
Support the Build With Big Crits
Once deck swapping is unlocked, pair crit-focused enhancements with Big Crits to pursue additional critical-hit effects during runs.
Two upgrades are especially useful to look for:
- Lucky Shot: Critical hits have a 50% chance to recover one round of ammunition.
- Vital Impact: Critical hits stun enemies for two seconds.
Take Lucky Shot when you need your crit build to sustain ammunition. Choose Vital Impact when enemies keep closing the distance: stunned targets give you time to reposition or finish them.
Update 3 fixed Lucky Shot’s interaction with projectile weapons, extending that ammunition recovery option beyond weapons it previously worked with.
Use Battering Ram Against Armor
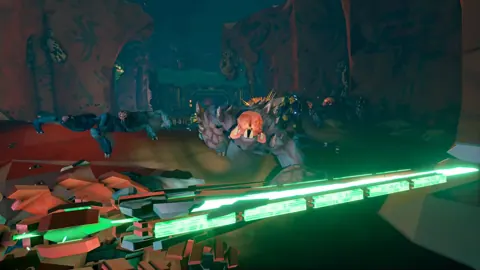
Battering Ram I provides 25% additional armor damage. Equip it when armored enemies are absorbing too much of your ammunition before you can finish them.
 Image: Steam / Ghost Ship Games
Support that enhancement with an armor-shredding weapon. Focus your attacks on opening the target, then exploit exposed weak points with a weapon capable of hitting them.
Remember what the bonus affects: armor damage. Do not count it as a universal 25% increase against every enemy or every exposed target.
Corrosion also deserves attention in these encounters. Since Update 3, corrosion grants armor penetration against affected enemies, increasing with each corrosion stack. Take corrosive options when they fit your equipment, especially if armored targets are slowing the team down.
Keep Healing and Utility in Your Loadout
Damage enhancements cannot recover a teammate while you are stuck in a dangerous interaction. Leave room for utility when those moments are costing you runs.
Nimble supports faster interactions and revives. Equip it when you need to recover teammates more quickly or spend less time exposed while interacting with objects. Its fourth tier increased to 40% in Update 3.
Sweet Tooth increases healing received from red sugar. Use it when health recovery is the limiting resource, especially on harder missions where surviving one fight still leaves you vulnerable to the next.
During the run, take early health and armor upgrades when enemies are hitting too hard. Do not assume a Guardian teammate removes that need.
The November 11 patch strengthened the Armor Boost Expenite upgrade: Uncommon, Rare, and Epic versions now grant +18, +24, and +36 armor, respectively. Guardian’s Armor Beacon was also improved to restore up to 100% armor.
Those are separate systems from permanent enhancements, but they affect how aggressively you can spend your enhancement slots. Use the protection available during the mission to support your loadout rather than forcing damage picks while struggling to stay upright.
Turn Permanent Enhancements Into a Stronger Run
Spend your progression currency at the skill tree near the mission selection area, then equip the enhancements you unlocked. Different tiers can work together, so review your equipped setup whenever you reach another row.
Use Operations Command tasks and Deployments to keep progression moving. Since Update 3, Deployments become available when their rank requirement is met; they no longer require a Merit purchase to unlock.
Inside a mission, keep the upgrade systems working toward the same goal:
- For ammunition: Equip Ammo Pouch and Resupplier, then pursue Lucky Shot if your build produces critical hits.
- For ability uptime: Look for Mixed Tactics upgrades such as Synergy, which restores ability charge through weapon hits.
- For kill-driven recovery: Pursue Carnage upgrades such as Death Resonance for cooldown recovery and Bloodlust for stone skin from killing medium or larger enemies.
- For electricity: Use Falconer’s reliable electrification to support Storm effects that require electrified targets.
Collect Expenite from defeated enemies as well as mineral veins. Enemy Expenite drops became a baseline feature in Update 3, so combat now contributes directly to earning more upgrades.
Grab Flux Quartz along the way and use the elevator’s Refractor Terminal to reroll Expenite upgrades or artifacts that do not fit your build. Make those decisions before anyone leaves the elevator: the level timer stays paused until the first Reclaimer steps out.
Continue with
 Deep Rock Galactic Rogue Core Meta Progression GuideDeep Rock Galactic Rogue Core meta progression explained: unlock enhancements, raise Intel Clearance, swap decks, and earn permanent rewards between runs.
More in Progression
Deep Rock Galactic Rogue Core Ascension: Unlock Guide
Deep Rock Galactic Rogue Core ascension unlocks Gauntlet access, deck swapping, and pickaxe heads. Learn how to ascend and plan your next class milestone.

Deep Rock Galactic Rogue Core Progression Guide: Unlocks
Deep Rock Galactic Rogue Core progression guide: unlock Clearance, build Enhancements, earn Merits, and use Update 3 systems to strengthen each new run.
Continue exploring

Deep Rock Galactic Rogue Core vs Deep Rock Galactic: Guide
Deep Rock Galactic Rogue Core vs Deep Rock Galactic: compare classes, loot, combat, progression, and current updates before choosing your next co-op game.

Deep Rock Galactic Rogue Core Crossplay: Can You Play?
Deep Rock Galactic Rogue Core crossplay explained: explore Steam co-op, console availability, and the multiplayer updates that keep your squad together.
Join the community
Official channels for news, updates and player help: