
Early access · Release date: May 20, 2026
UpdatedDeep Rock Galactic Rogue Core Classes: All 5 Explained
Explore Deep Rock Galactic Rogue Core classes, compare all five Reclaimers, and choose abilities and Bio-Booster decks that fit your solo or co-op run.
Jump to
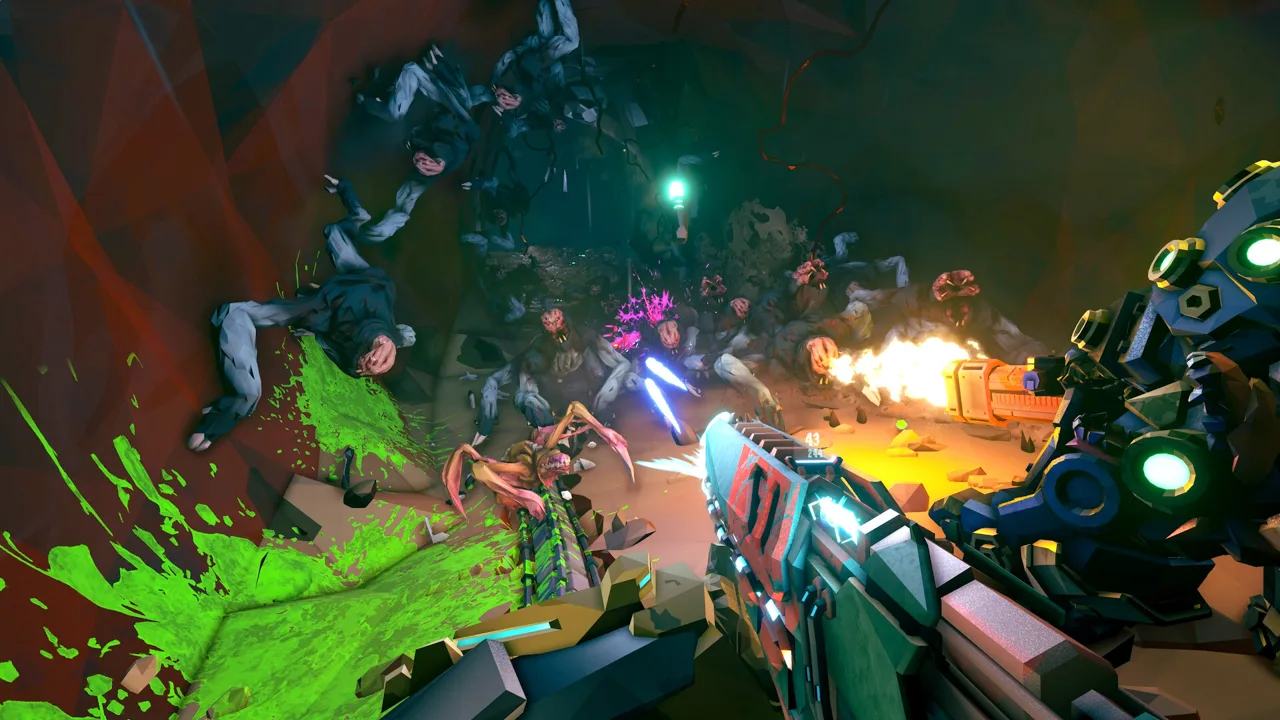
How Rogue Core Classes Shape Your Build
Your class gives you a reliable toolkit when a run’s equipment choices get unpredictable. The five Deep Rock Galactic Rogue Core classes are Guardian, Falconer, Retcon, Spotter, and Slicer, with abilities covering crowd control, electrical damage, time manipulation, critical hits, and melee combat. Pick the kit you enjoy using, because your weapons and upgrades change throughout each mission.
The Reclaimers share the same base health and weapon damage. Their differences come from gauntlet abilities, class skills, and Bio-Booster decks. Guardian’s durability comes from armor restoration and enemy control; picking him doesn’t automatically give every gun more damage or a larger starting health pool.
Weapons and traversal tools come from equipment choices during the run. Spotter can use more than precision rifles, and Slicer still needs guns between blade attacks.
For a starting point:
- Choose Guardian for your first runs. His crowd control and armor support provide room to learn.
- Bring Falconer into a three- or four-player squad for remote revives and electrical damage.
- Pick Spotter for coordinated focus fire against bosses and tough enemies.
- Choose Slicer for aggressive melee combat supported by frequent repositioning.
- Try Retcon after learning stage pacing, when you can better judge how much danger to take before rewinding.
Official page: Deep Rock Galactic Rogue Core (store.steampowered.com)
Guardian: Control Space and Restore Armor
The November 11 patch increased Armor Beacon’s restoration cap to 100% armor. That makes its placement especially valuable when teammates need to recover before another fight.
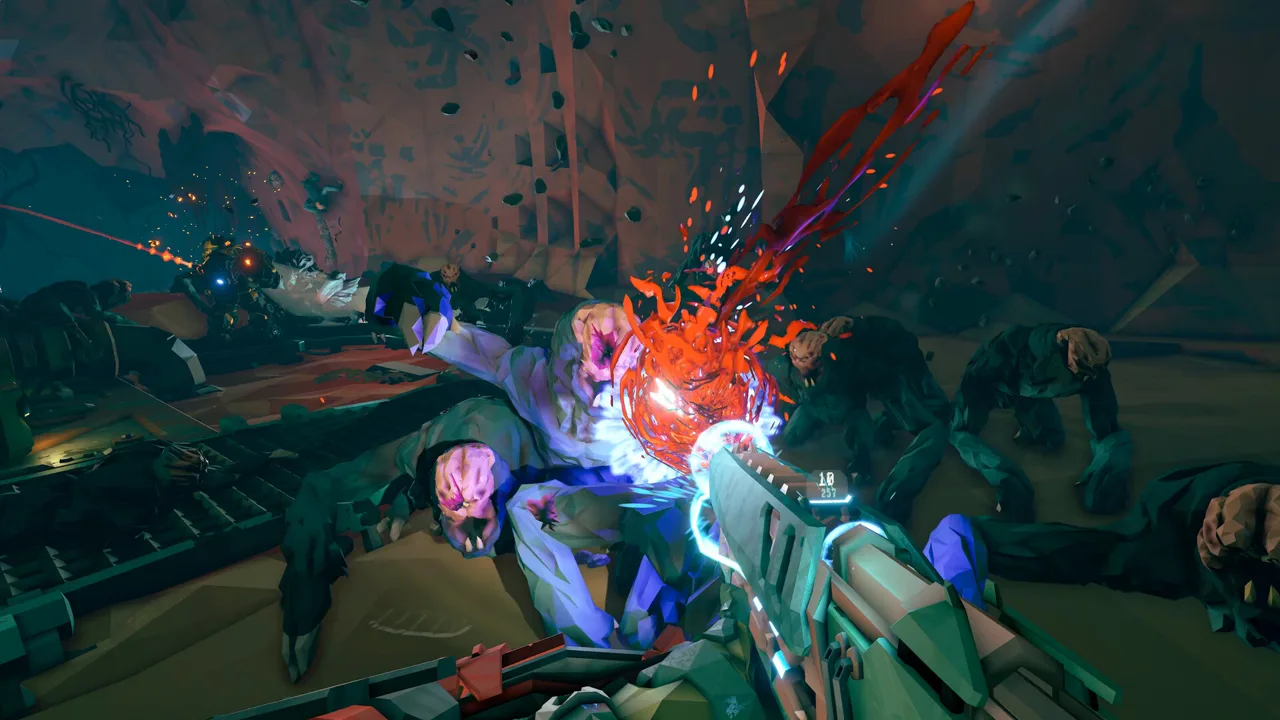 Image: Steam / Ghost Ship Games
Guardian’s Seismic Gloves handle both direct disruption and area denial. Concussive Barrage fires a cone of munitions that damages and stuns enemies, while Repulsion Field creates breathing room around you.
| Ability or deck | Function and stats |
|---|---|
| Seismic Gloves | Two charges, each recharging in 20 seconds |
| Concussive Barrage | Fires 12 concussive munitions in a cone; applies a six-second stun |
| Repulsion Field | Creates a four-second fear zone; continues consuming charges while maintained |
| Armor Beacon | Six-meter dome lasting 15 seconds; restores up to 100% armor; two-minute cooldown |
| Starting Bio-Booster decks | Protection and Devastation |
Use Concussive Barrage when enemies converge on an objective or teammate. Its cone lets you disrupt a group without lining up individual shots. Switch to Repulsion Field when nearby enemies are denying you the space to act.
Place Armor Beacon where allies can keep fighting within its radius. Dropping it away from the squad wastes the restoration window, while placing it near a defended objective lets several players benefit together.
Keep moving and shooting between ability uses. Guardian’s protection comes from managing threats and restoring armor, so standing still and absorbing attacks burns through the advantage his kit creates.
Falconer: Electrical Pressure and Remote Revives
Falconer combines an attacking drone with electrical support and a rescue ability. Her kit supplies electricity without requiring a particular weapon drop, giving you a clear direction when electrical upgrades appear.
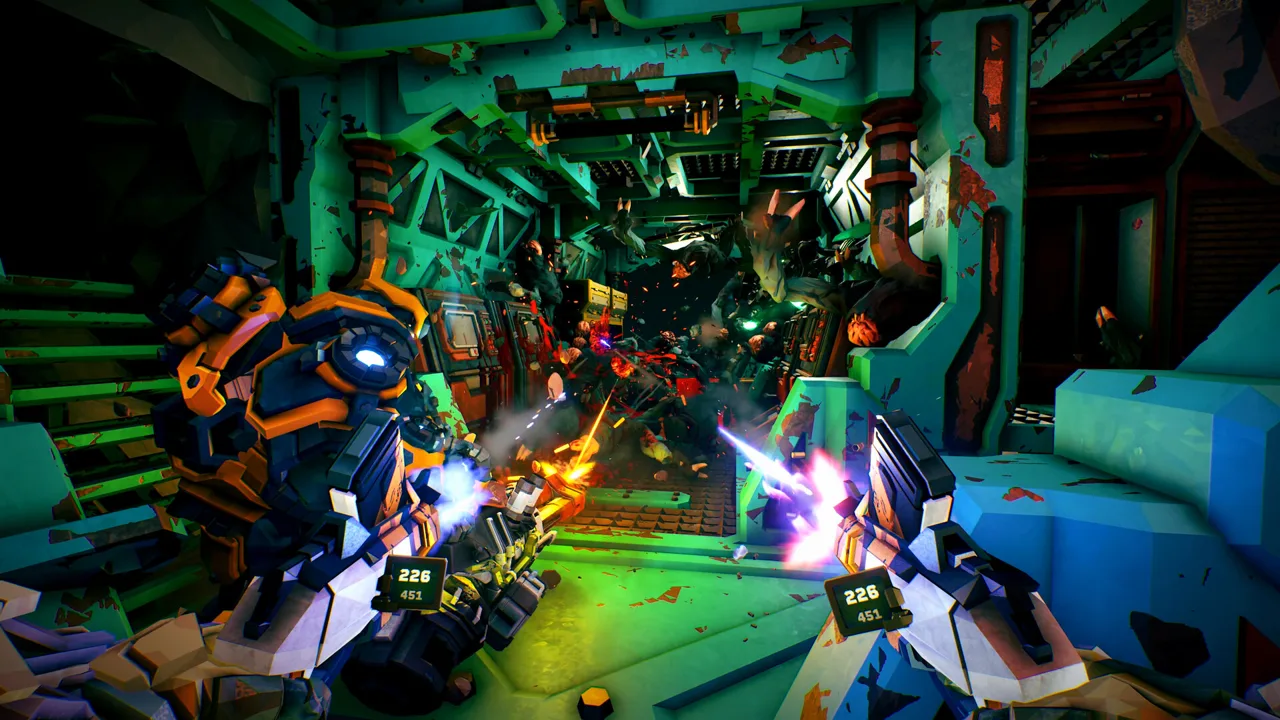 Image: Steam / Ghost Ship Games
| Ability or deck | Function and stats |
|---|---|
| Shock Drone | Five charges; each recharges in 10 seconds |
| Drone attack | Four projectiles per burst; 35 direct-hit damage and 25 nearby damage; direct hits stun |
| Thunder Rod | Doubles electric damage for allies within eight meters for 15 seconds |
| Remote Drone Revive | Sends the drone to revive a downed teammate; two-minute cooldown |
| Starting Bio-Booster decks | Mixed Tactics and Storm |
Deploy the drone toward enemies you need pressured while you keep firing. You can recall it manually rather than waiting for its charges to run out.
Use Thunder Rod when teammates with electrical damage can fight inside its radius. Coordinate that window with your drone instead of placing the field while the squad is scattered.
For Workbench choices, build around the drone behavior you want:
- Expanded Battery Capacity: adds two charges.
- Fledgling Blitz: adds three charges while low on health.
- AMP Relay Booster: increases fire rate by 25%.
- Talon Surge: adds two projectiles per burst.
Electrical Expenite upgrades offer additional combinations. Spark-Booster grants 45% movement speed for three seconds when enemies in medium range are electrocuted. Grid-Shock spreads 50% of damage dealt to electrified targets as electric damage to enemies connected by electrical arcs.
Send Remote Drone Revive toward an ally when approaching for a manual revive would expose you to heavy fire. Its rescue function is a major reason to bring Falconer into multiplayer, although it has no teammate to recover during solo play.
Retcon: Commit to a Fight, Then Rewind
Retcon stores an earlier position and resource state, then returns to it. That creates an aggressive combat window, but Rewind Time does not save you from being downed before the return.
 Image: Steam / Ghost Ship Games
| Ability or deck | Function and stats |
|---|---|
| Rewind Time | Returns you to a marked position with your earlier ammo, health, and armor; lasts up to 20 seconds; 75-second cooldown |
| Rage | Charges through damage taken; doubles damage and adds 30% pickaxe speed for 12 seconds |
| Contingency Plan | Once per mission, revives Retcon with full health and armor when the last dwarf falls |
| Starting Bio-Booster decks | Recklessness and All In |
Activate Rewind Time from a position you can safely return to. Spend ammo and engage during the window, then trigger the return manually if waiting for the automatic rewind would risk getting downed.
Pair Rage with that window when it is available. Rewind can recover the health and resources spent during the exchange, but fatal damage still ends the opportunity.
Workbench upgrades can change how the window plays:
- Accelerate: grants you and allies 20% bonuses to reload, movement, mining, ability recharge, and fire rate while Rewind runs.
- Chrono Freeze: slows enemies you damage.
- Horology: increases duration by 15%.
- Paradox Blast: creates a five-meter rift on rewind, dealing 100 damage and stunning for five seconds.
- Temporal Buffer: grants 30 Stone Skin on activation.
Contingency Plan provides a separate emergency recovery. Keep its once-per-mission limit in mind rather than treating every dangerous push as recoverable.
Spotter: Mark Priority Targets for the Whole Team
Spotter’s Crit Dart gives the squad a shared offensive opening. Marking a dangerous enemy lets several players capitalize on the same target, while Scanner and Ranger’s Pocket support awareness and ammunition.
| Ability or deck | Function and stats |
|---|---|
| Crit Dart | Three charges; each recharges in 18 seconds |
| Direct dart hit | Marks an enemy for five seconds with +100% critical-hit chance against it |
| Ground dart | Creates a ten-second zone that increases critical-hit chance against enemies inside |
| Scanner | Passive pings within 35 meters every four seconds; active scan highlights enemies and supplies for ten seconds on a 24-second cooldown |
| Ranger’s Pocket | Deploys an ammo pack for you or a teammate |
| Starting Bio-Booster decks | Mobility and Big Crits |
Mark an elite or boss when teammates have a clear firing opportunity. A short critical-hit window loses value if everyone is reloading, moving between rooms, or shooting another enemy.
Aim a dart at the ground when several enemies are staying inside a confined area. Use a direct hit when the squad needs one priority target removed.
Workbench options let you improve availability or coverage:
- Charge Spooler: 25% faster recharge.
- Enhanced Critical Chance: adds 15% critical-hit chance.
- Critical Splash: adds 1.25 meters to the zone radius.
- Extra Dart: adds one charge.
- Potent Dart: adds 3.5 seconds to duration.
Scan before committing to an unfamiliar space, and deploy ammunition during sustained fights when leaving to find supplies would interrupt the team’s damage. Spotter’s marks benefit allied attacks, so keep communicating which enemy deserves everyone’s attention.
Slicer: Heavy Melee Hits with an Exit Plan
Slicer’s Plasma Blade delivers a large armor-bypassing hit, while Blitz supplies frequent movement. Shield Belt adds protection against ranged attacks, giving his close-range kit another way to approach dangerous positions.
| Ability or deck | Function and stats |
|---|---|
| Slice | Deals 560 damage, bypasses armor, and stuns for 1.5 seconds; 20-second cooldown |
| Blitz | Short-range dash; four-second cooldown |
| Shield Belt | Blocks enemy ranged attacks for you and nearby allies for 15 seconds; 90-second cooldown |
| Starting Bio-Booster decks | Footwork and Carnage |
Keep Blitz available for leaving melee range when enemies surround you. Dashing into a fight spends the same movement tool you might need immediately afterward.
Use Slice against armored targets or enemies positioned where its reach can connect. Continue using your weapons while the blade recharges instead of waiting beside an enemy for another swing.
Workbench upgrades support several variations:
- Thermal Wake: leaves a plasma trail for five seconds.
- Eclipse System: adds 100 melee damage in an arc with Penetration.
- Blade Recalibration: adds 0.5 meters of range.
- Tempered Core: adds 140 damage.
Position Shield Belt between your team and incoming ranged attacks. Enemies already inside its protective boundary can still threaten you, so maintain distance from shooters even while the shield is active.
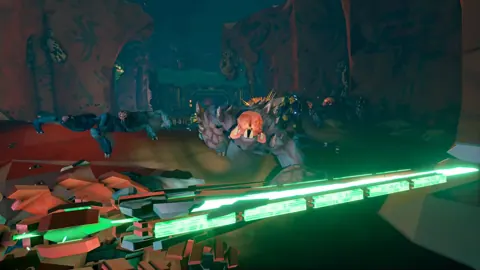
Update 3 fixed blade hit-detection problems against Corespawn Bruisers and Edgestalkers, along with shield issues during high-ping play.
Build Around Your Kit Without Ignoring the Run
Each Reclaimer begins with two Bio-Booster decks. Those decks shape the perk choices offered by Bio-Boosters during missions, while Workbenches provide opportunities to improve weapons or class abilities.
Once deck swapping is unlocked, you can mix decks beyond a class’s starting pair. Update 3 also introduced Prowess, a classless deck built around switching between your pickaxe, weapons, and grenades. It becomes available when deck swapping unlocks.
Keep the progression systems separate:
- Enhancements are permanent unlocks equipped before a mission. You can eventually equip up to eight after purchasing the slots.
- Bio-Booster perks, Expenite upgrades, weapons, and Artifacts belong to the current run and reset when it ends.
- Trophy Wall rewards include permanent stat boosts earned through Gatekeeper victories.
During a mission, choose upgrades that interact with what you already have. Take electrical interactions when Falconer’s drone is supplying electricity, improve critical-hit combinations around Spotter’s darts, or extend Slicer’s blade damage and reach through Workbench choices.
Update 3 made enemy Expenite drops a baseline feature, alongside the remaining mineable veins. It also added Flux Quartz, which you can spend at a Refractor Terminal to reroll Expenite upgrades and Artifacts or convert into a small health boost. Use those rerolls when an upgrade contributes little to your current setup.
Choose Threat Level for combat difficulty and Assault Pace for time pressure. Threat Levels range from one to five, while Cautious, Standard, and Reckless adjust mission pacing. Lower the pressure while learning an unfamiliar ability cycle, then raise it when you can use your class tools consistently.
Continue exploring
Deep Rock Galactic Rogue Core Progression Guide: Unlocks
Deep Rock Galactic Rogue Core progression guide: unlock Clearance, build Enhancements, earn Merits, and use Update 3 systems to strengthen each new run.
Deep Rock Galactic Rogue Core Solo: Tips for Better Runs
Deep Rock Galactic Rogue Core solo guide covering Cooper commands, Assault Pace, builds, upgrades, and Save & Quit. Make your next descent more manageable.
Join the community
Official channels for news, updates and player help: